THE BEST WAY TO CLEAN YOUR HARDWOOD FLOORS
Updated April 2025
Wood floors bring a warm, earthy beauty to your home. They are durable and with proper care, can last for decades. However, wood floors can be a major investment and simultaneously can take a beating. We walk on them, children run on them, family pets track dirt and mud on them, yet we still want them to sparkle and shine like the day we had them installed. So, how do you clean hardwood floors, step by step? To keep them looking lovely, here is the best way to clean wood floors!
Shop Now!
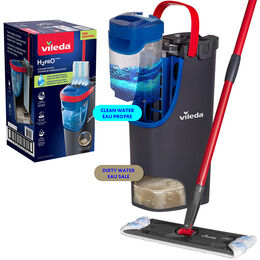
H2prO Flat Mop System
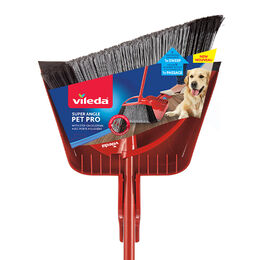
Super Angle Pet Pro Broom with Step-On Dustpan
Vileda® PACS Floor Cleaner, Crisp Citrus
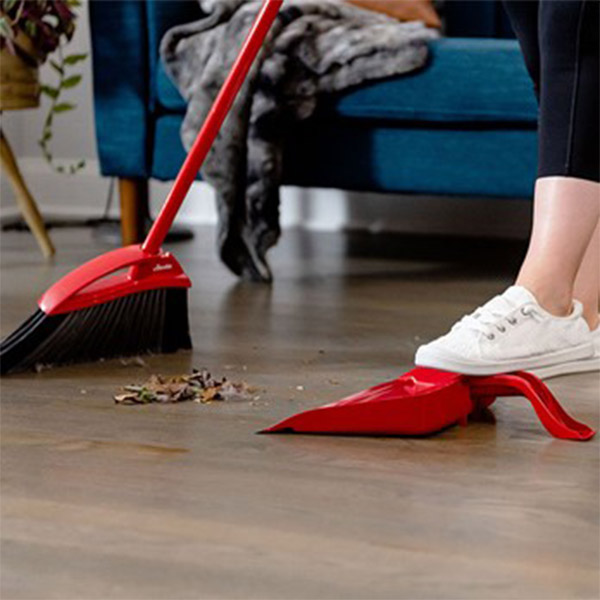
STEP #1: Dust Wood Floors
Use an indoor broom and dustpan or a vacuum cleaner to remove any dust, dirt and debris that has piled up on your wood floors.The Pet Pro Broom is a quick and easy way to dust your wood floors. Its patented V-trim bristles are designed to clean the never-ending pet hair in a single sweep. The One Sweep broom is another option to seamlessly dust your wood floors. Its patented new wave technology was engineered to impressively capture over 99% of dirt and dust in one sweep. It was even designed with angled bristles to get those hard-to-clean corners.
If you choose to use a vacuum, avoid using a beater bar attachment as it could potentially damage the surface of your wood floor. Instead, opt for another vacuum attachment such as a floor-brush. Depending on how much foot traffic your wood floors get, this is a good cleaning practice to do at least once a week or more if needed.
STEP #2: Use a Floor Cleaner
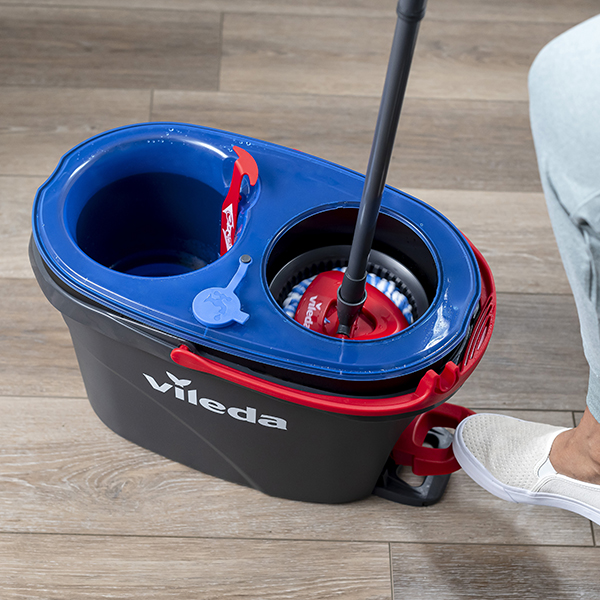
STEP #2: Use a Floor Cleaner
Dusting wood floors won’t remove all the layers of dirt and grime that build up over time. To get your wood floors shining like new again, sometimes, you need to deep clean hardwood floors.
When deep cleaning hardwood floors, we recommend using the pre-portioned Vileda PACS floor cleaner. To use PACS, take a bucket and mix together 1½ gallons of warm water, then drop in one perfectly portioned Vileda PACS! PACS are designed to use with our Vileda mopping systems but any wood floor mop and bucket will work, too. The easy-to-use Vileda PACS are made with 97% naturally-derived ingredients that are formulated with deep cleaning enzyme power. That makes it extra safe to use on hardwood floors and little feet and paw friendly. Just drop and mop! Learn more about the science behind PACS here.
When deep cleaning hardwood floors, we recommend using the pre-portioned Vileda PACS floor cleaner. To use PACS, take a bucket and mix together 1½ gallons of warm water, then drop in one perfectly portioned Vileda PACS! PACS are designed to use with our Vileda mopping systems but any wood floor mop and bucket will work, too. The easy-to-use Vileda PACS are made with 97% naturally-derived ingredients that are formulated with deep cleaning enzyme power. That makes it extra safe to use on hardwood floors and little feet and paw friendly. Just drop and mop! Learn more about the science behind PACS here.
STEP #3: Clean Wood Floors - The Traditional Way
According to the National Wood Floor Association (NWFA), maintaining your wood floors is very easy. After you sweep or mop your hardwood floors, you can vacuum your hardwood floors with the beater bar turned off. This additional step will remove any dirt and grit that may be lodged between floorboards.
What should you not put on a hardwood floor? Avoid using steam mops as excessive water and steam can dull hardwood floors over time. If wood floors begin to lose their luster, use a wood floor cleaner recommended by the floor installer. This will help your beloved hardwood floors look good as new.
What should you not put on a hardwood floor? Avoid using steam mops as excessive water and steam can dull hardwood floors over time. If wood floors begin to lose their luster, use a wood floor cleaner recommended by the floor installer. This will help your beloved hardwood floors look good as new.
STEP #4: Clean Wood Floors - Between Deep Cleans

STEP #4: Clean Wood Floors - Between Deep Cleans
For spills, muddy footprints and more, the H2prO Flat Mop System is your quick-clean sidekick that also delivers a powerful clean! Small but mighty, it features an innovative design that completely separates clean and dirty water. Just fill the detachable water tank in the sink, then wet your pad in the first chamber, and wring it in the second chamber. It’s lightweight and super easy to use – and perfect to keep handy for accidents.
The H2prO also features a washable, reusable mop head. When you’re finished mopping, throw it in the washing machine and lay flat to dry. Then use again! Saving you time and money over wasteful disposables.
The H2prO flat mop can be used on hardwood, tile, vinyl, laminate, ceramic, marble or stone surfaces, as well as walls and baseboards.
STEP #5: Cover Scratches
Covering and concealing scratches that remain after dry and wet mopping is all part of the cleaning process. Take a crayon that is the color of your wood floor and rub it on the scratch to fill in the scratch or gap. If you don’t have crayons on hand, you can visit your local hardware store and ask a flooring expert to help you pick out a wood crayon specifically designed for filling in wood floor scratches. Be sure to bring in a sample or picture of your wood floors so you can make an exact color match!
After you fill in the gap with your wood crayon, turn a blow dryer on high and use it to heat the area where you applied the crayon. Lastly, buff the area with the Vileda Actifibre or Microfibre cloth!
After you fill in the gap with your wood crayon, turn a blow dryer on high and use it to heat the area where you applied the crayon. Lastly, buff the area with the Vileda Actifibre or Microfibre cloth!
STEP #6: Preventative Protection
Prevent dirt build-up and further damage to your newly cleaned wood floors. Place mats inside doorways and also on the outside of doors to diminish the potential for tracking in any dirt and moisture. Avoid scuffs and scratches by placing floor protectors under furniture or by using floor runners and large area rugs in high-traffic areas like hallways and living rooms.
Using these easy steps and knowing the best way to clean wood floors will keep your family’s wood floors looking beautiful for years to come!
Using these easy steps and knowing the best way to clean wood floors will keep your family’s wood floors looking beautiful for years to come!

H2prO Flat Mop System
RinseClean™ Spin Mop & Two Bucket System
Oskar® Broom with Dustpan
Need Help?
Categories
About Vileda®


